Light Tool
Lighting is one of the most important steps in creating a map that looks refined. Lighting brings a map to life, and with our new directional lighting feature, you have more control than ever to make detailed maps that feel alive.
Video Tutorial
Light Panel
Using the light tool you are able to change the lighting on the overall dungeon, the ambient light of the map, or the ambient light of individual rooms. You are also able to toggle whether or not dynamic lighting is present, which will affect all objects that are toggled to interact with dynamic lighting.
Global Options
At all times when the light panel is open you can toggle the following light settings: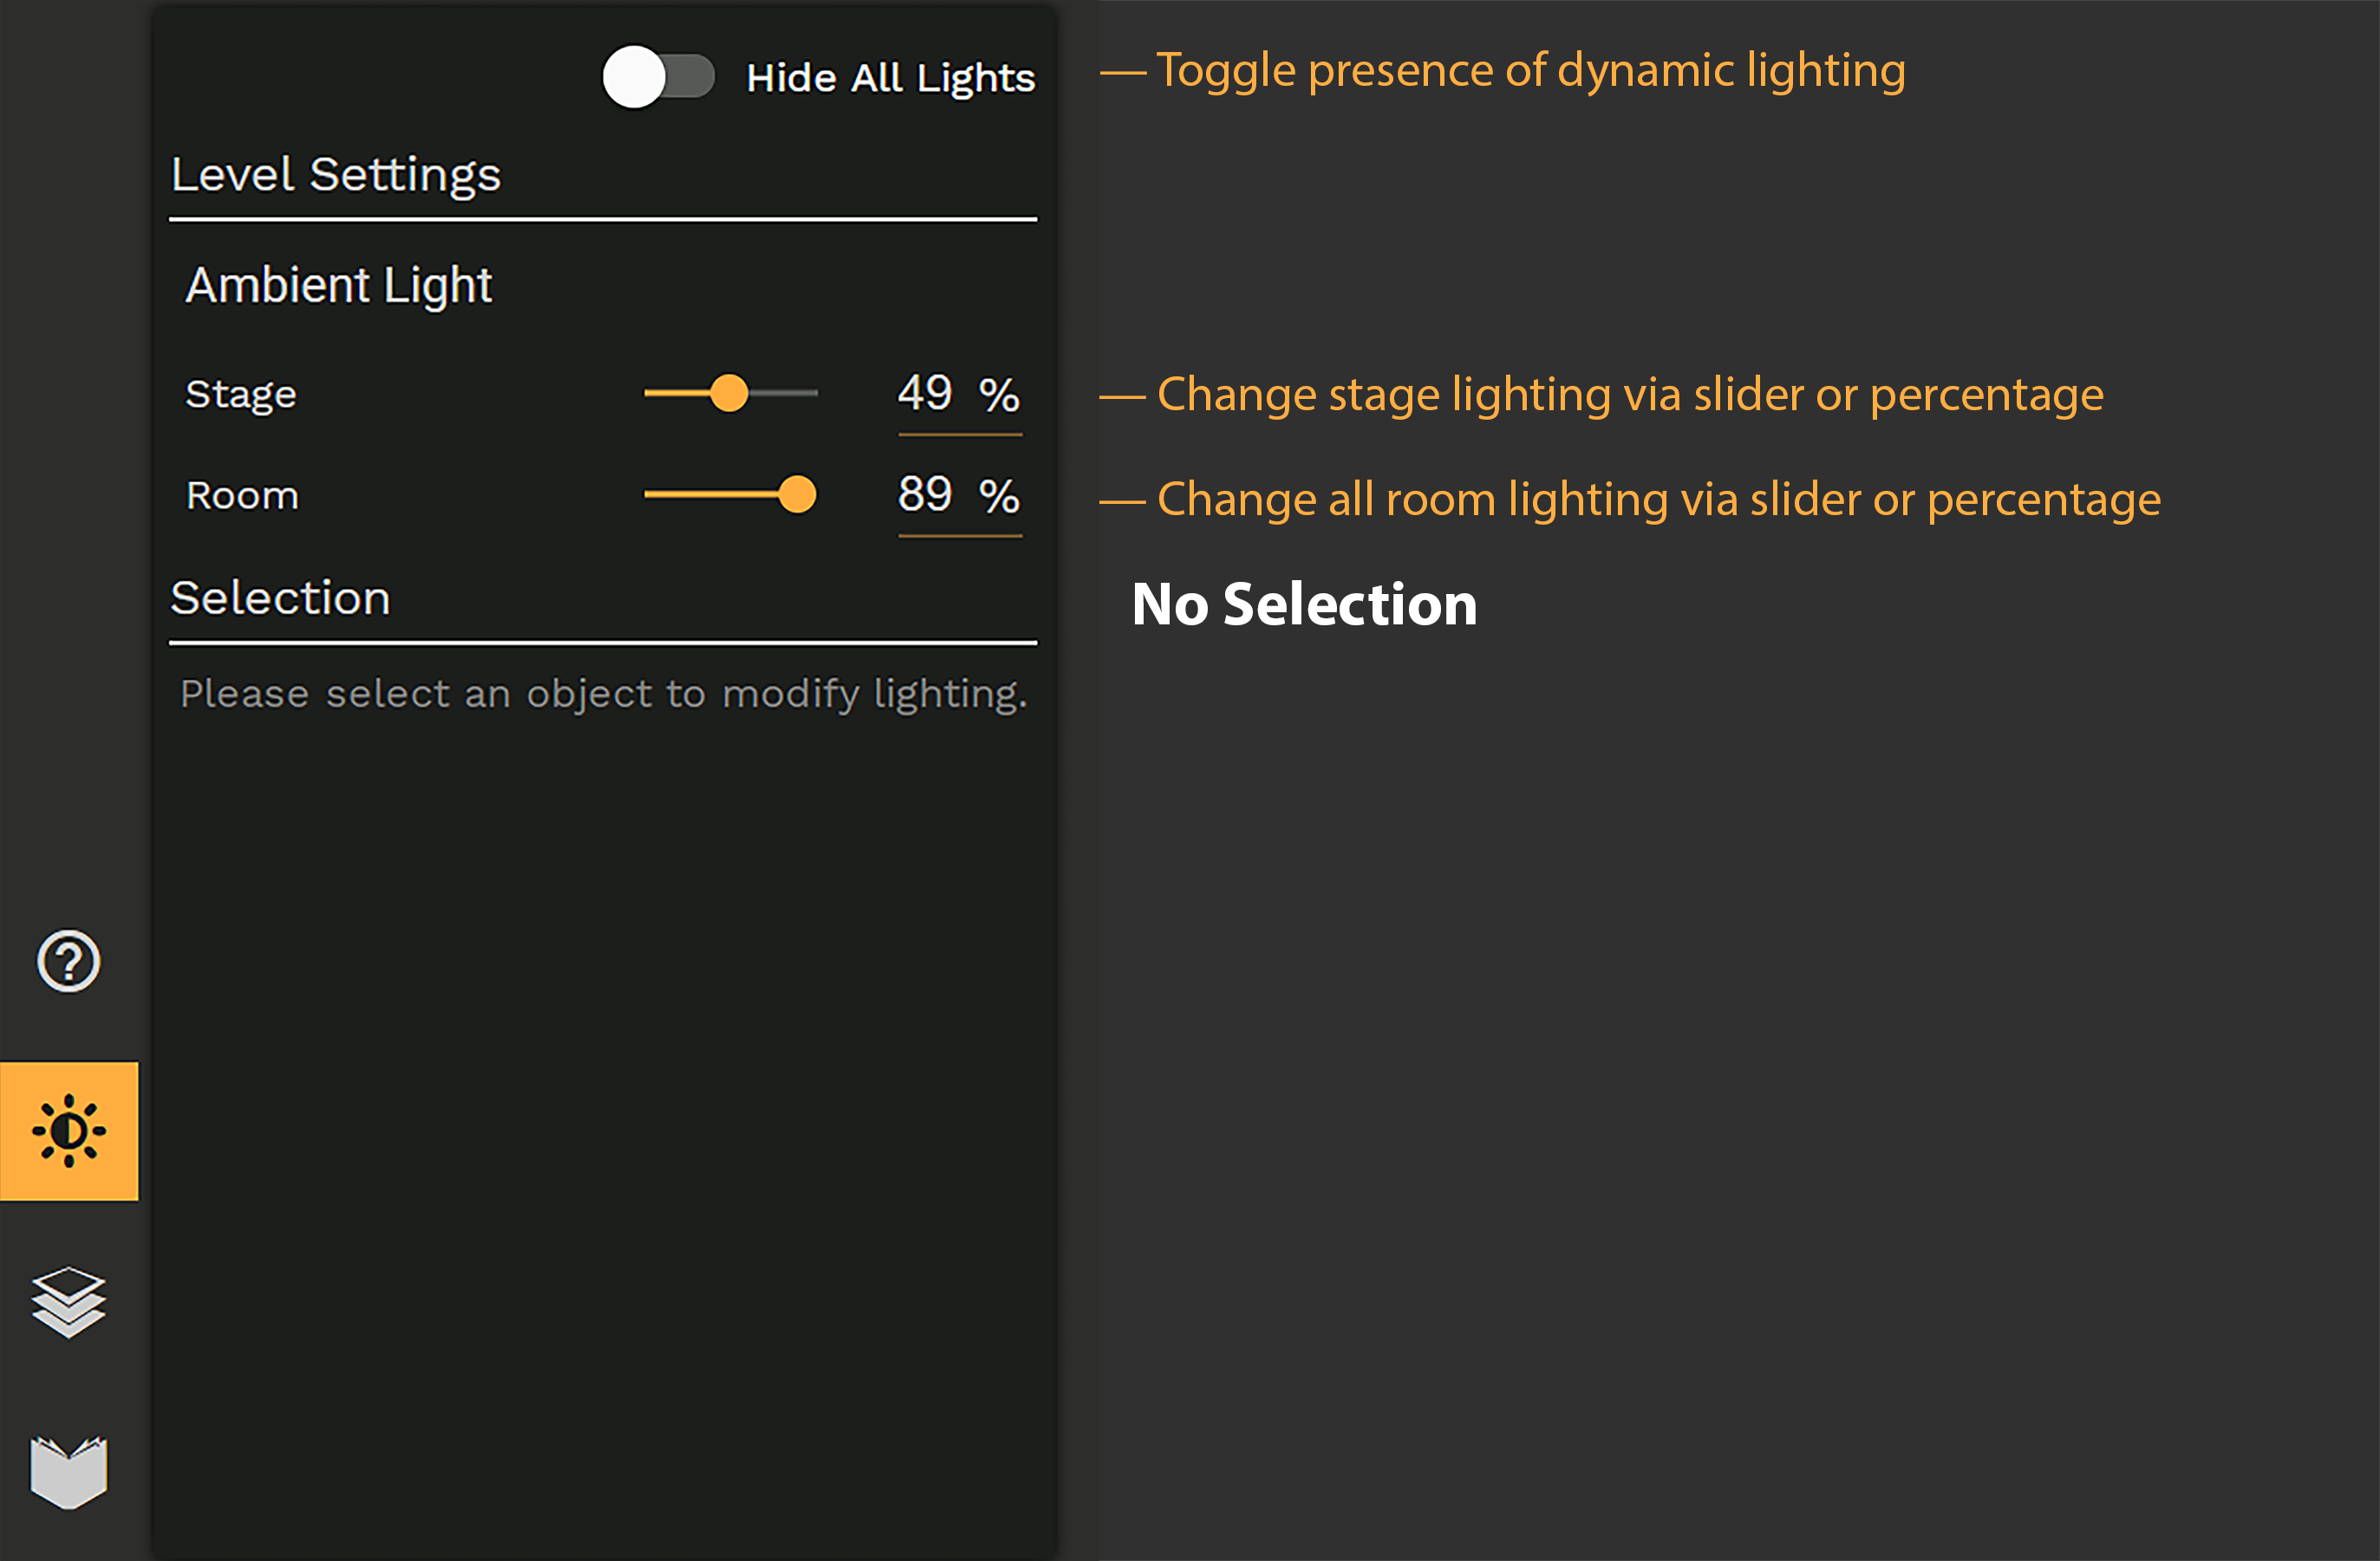
All Levels:
Hide All Lights - This disables light rendering until it is turned back on.
Level Specific:
Stage - Adjust the ambient lighting for the stage itself.
Room - Adjust the ambient lighting for rooms on this map.
Room Selection
With an active selection on a room, you can manipulate the lighting of this specific room as an offset from the overall ambient settings for this map.
Ambient Light Adjustment - Based on the general ambient light settings of your map level you can define an offset to make rooms darker or brighter then the rest of the scene.
Blocks Light - You can define, whether this rooms confinements (walls) are blocking the light or let it pass through (eg. Glass-walls, pits, etc.)
Blocks Light - You can define, whether this rooms confinements (walls) are blocking the light or let it pass through (eg. Glass-walls, pits, etc.)
Prop Selection
Selecting a prop you can basically do two things:
a) convert this prop into a light source by activating the option "light source".
b) let this prop cast a dynamic shadow based on the light sources in its vicinity by activating "Cast shadow".
a) convert this prop into a light source by activating the option "light source".
b) let this prop cast a dynamic shadow based on the light sources in its vicinity by activating "Cast shadow".
Dynamic Shadows
When adding dynamic shadows to props, you can adjust the shadows behavior:
Light Receiver - Choose between "None" to have lights not affect this prop at all, "Flat" (default) to have light fall onto this prop via flat projection and "Flat-no prop shadow" to only accept light on this prop, but not accept any prop shadows cast from other objects (as if this prop was above all other objects in this area).
Shadow Length - Adjust how long the shadow will be, when cast from a light source.
Shadow Length - Adjust how long the shadow will be, when cast from a light source.
Light Sources
When you create a light source, you have several options to control its behavior:
Light Source - Enable - This will convert your prop in a light source.
H - Hue - Adjust the color hue of the light source.
S - Saturation - Adjust the color saturation of the light source.
L - Lightness - Adjust the intensity/lightness of your light source.
Range - Adjust the range of the light that is generated from your light source.
Width - 1deg to 360deg - The cone for which light is generated. New lights sources default to 360deg for circular light and can be changed to create directional lighting.
Mask - This setting is a range of 0sq to a maximum of the light range. This setting allows you to change where along the light path the light starts.
Direction - 0deg to 360deg - 0deg is to the top of the map. This setting will auto-adjust when a prop is rotated.
B/F - -999% to 999% - Moves the light source back or forward in relation to the props rotation setting.
L/R - -999% to 999% - Moves the light source left or right in relation to the props rotation setting.
Prop Shadow - Adjust if this light source should create dynamic shadows or just functions as an atmospheric light.
Prop Shadow - Adjust if this light source should create dynamic shadows or just functions as an atmospheric light.
Light Gizmo's
After you make a prop a light source, gizmo controls around the light source will be made available so you can quickly update the look of the light with your mouse without the need to figure out the values.
Range/Direction Gizmo - The center gizmo controls range and direction, this gizmo also reflects the color of the light source.
Mask Gizmo - The mask gizmo follows the center light track to allow you to change where the light starts.
Width Gizmo - Changes lighting from circular to directional however you like to achieve the look you want.
Move Light Source Gizmo - This allows you drag the light source around itself so that you no longer have to have the light 'centered' on the prop itself but place it where you want for maximum control.
Last Reviewed - 5.6.10
Related Articles
Token Tool
Token Tool Tokens are mainly used for the DungeonFog's viewer version to help you represent monsters, NPCs or players. To place a token, adjust its settings and while having the token tool active click on the stage to place it. Size: Changes the ...Shape Tool
Shape Tool With the shape tool, you can create objects like raised or lowered terrain, sockets or stairs that you want to draw on vector basis instead of using a prop. To create a shape, select the tool, start drawing the vector points and close the ...Brush Tool
Brush Tool With the brush tool, you can add texture or color brushes to your map by clicking and dragging across the canvas. Vector brush that you can use to change floor appearance. Useful for blending or transitory rooms. Brushes are always ...Room Tool
Room Tool With the room tool you create the rooms and areas of your map, be it a throne room, cave, or tavern. To create a room, select the tool, and draw using vector points to build up the walls of a room, and finish it by closing it off by ...Selection Tool
Selection Tool With the selection tool, you can select props, objects, and rooms that have already been placed down and change their existing properties and settings. Simply select an existing prop, object, or room and change it using options similar ...